I love olive oil. I love what it does to food, of course, but I also love it for baking. It imparts a wonderful, nutty flavor and light-yet substantial texture to cakes; it gives cookies a little je ne sais quoi. But most recently I found myself thinking beyond the oven and in terms of fillings and toppings. What would happen, I wondered, if you made a dish like mousse with olive oil?
Well, as usual, it didn't take me long to go from "what if" to "let's go." In record time I had a batch of mousse going, and some olive oil at the ready to stand in for the butter I would usually add.
I decided on chocolate, because really, isn't that the most classic type of mousse? It is in my heart, and no, I am not open to your comments.
I melted the chocolate with the olive oil. It separated slightly as it cooled, but that was fine, because when I added it back in later to the whipped mixture, it re-incorporated and stayed together. Maybe the eggs helped emulsify? Sorry, I am CakeSpy, not ScienceSpy, so I can't tell you for sure.

A few notes in case you're judging my mousse recipe as slightly non-traditional: the recipe I adapted called for whipping egg yolks, egg whites, and whipping cream all in separate bowls; I streamlined the process by whipping egg whites and cream all at once, and it turned out fine; it was motivated by me not wanting to wash the bowl. I also just added the egg mixture into the chocolate. Once again, came out fine.
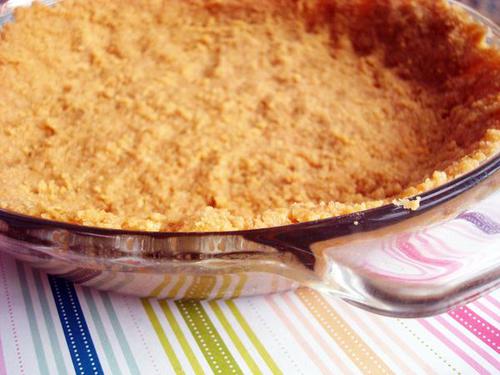
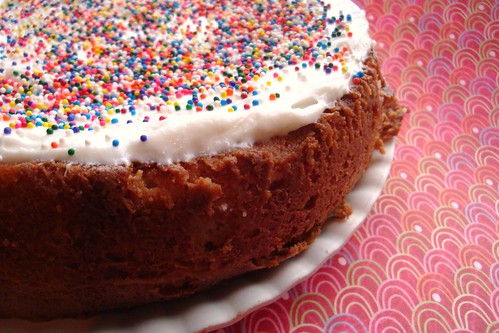
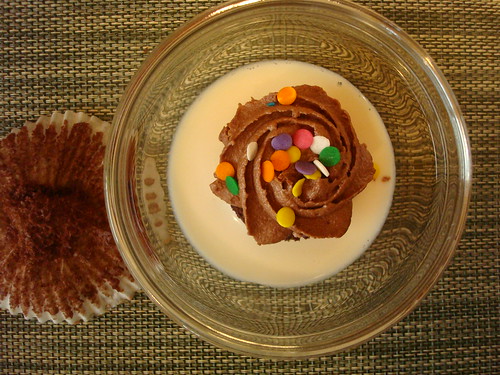
Most importantly, the finished product. This mousse is absolutely splendid.
I added an assertive amount of salt, which was the bridge that unified the nutty, unique olive oil flavor and the mellow milk chocolate. It made for a salty-sweet-gently complex caramelly flavor that kept you coming back for more. This mousse is absolutely crave-worthy, and I think it is a strong indication that adding olive oil to mousse is not only possible, but an official Good Idea.
Here's how you do it. Printable recipe here.
Milk chocolate olive oil mousse
- 3.5 ounces (1 bar) best quality milk chocolate
- ¼ cup extra virgin olive oil
- 2 large eggs, separated
- ¾ heavy whipping cream
- 1 tablespoon sugar
- 1/4 teaspoon salt
Note: the egg yolks are folded into a warm chocolate mixture in this recipe, but that doesn’t necessarily “cook” them. If you are concerned about the eggs not cooking enough to destroy bacteria, pasteurize them first. You can find out how to do that in this post.
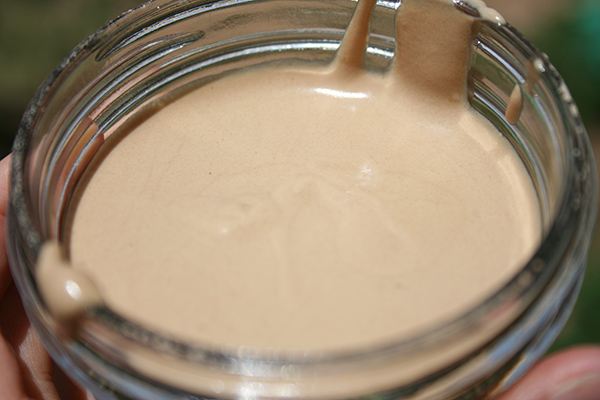
In a medium saucepan or the top of a double boiler, melt together the chocolate and olive oil over low heat.
Once melted, remove from heat and set to the side. If some slight separation occurs over the next few minutes, that is ok.
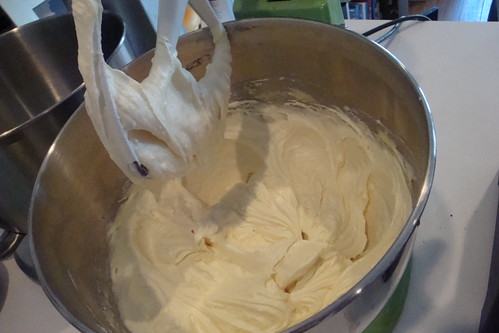
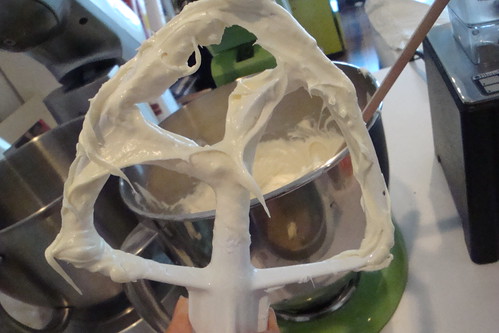
In a stand mixer fitted with the whisk attachment, whip the egg whites and heavy cream together on medium-high speed until it forms soft peaks. Slowly add the sugar and continue to whip until the mixture attains firm peaks.
In a small bowl, combine the egg yolks, vanilla, and salt. Mix the egg yolk mixture into the chocolate mixture with a whisk. Mix until combined.
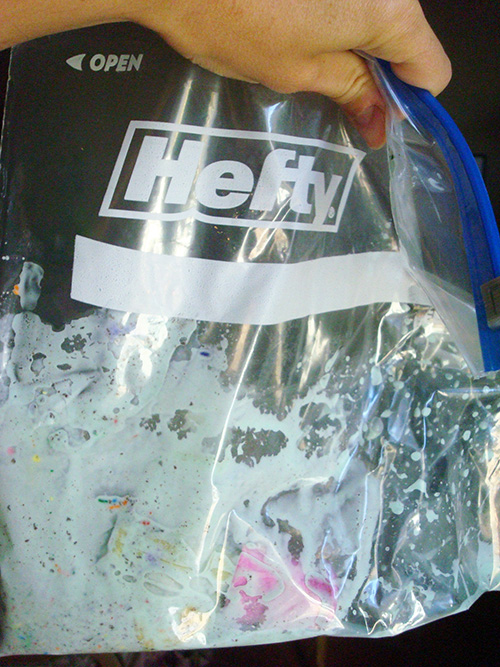
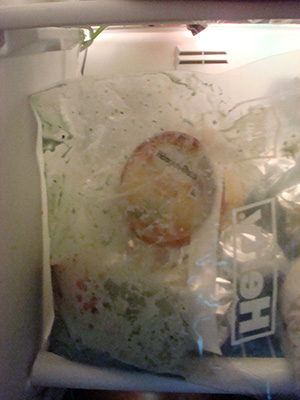
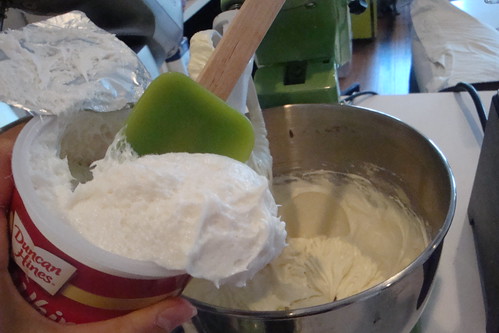
Fold the chocolate mixture into the whipped cream and egg white mixture, gently, until no streaks remain. If desired, transfer to individual serving dishes, or into one large bowl. Let the mousse chill in the refrigerator for at least 2 hours before enjoying. It will "set" more as it chills.


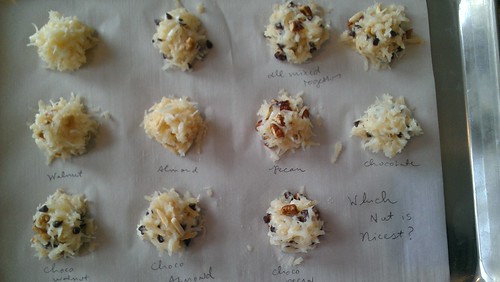


 What were the flavors


 Recently when we came across the