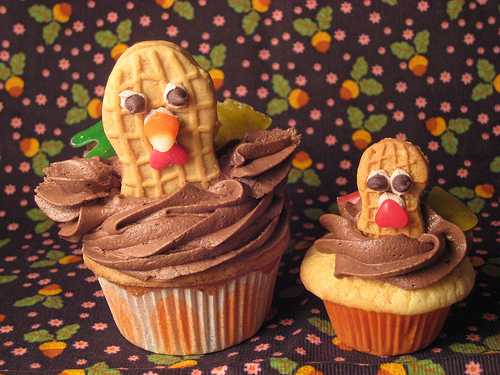
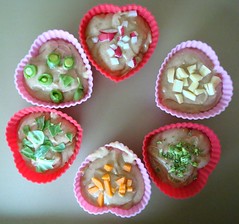
Photo credit: Bobby Marro Photography
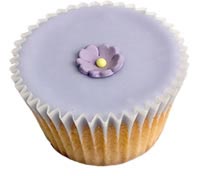
Let's face it: beets are probably not going to be the first food you think of as an aphrodisiac. But maybe they should be--as the kind folks at Del Monte were more than happy to share with me, they are rich in boron, which is thought to "get the love juices flowing" (well, doesn't that beet all?)--and per Wikipedia,
Since Roman times, beetroot juice has been considered an aphrodisiac. The juice is a rich source of boron, which plays an important role in the production of human sex hormones. Field Marshal Montgomery is reputed to have exhorted his troops to 'take favours in the beetroot fields', a euphemism for visiting prostitutes.
Who knew, right?
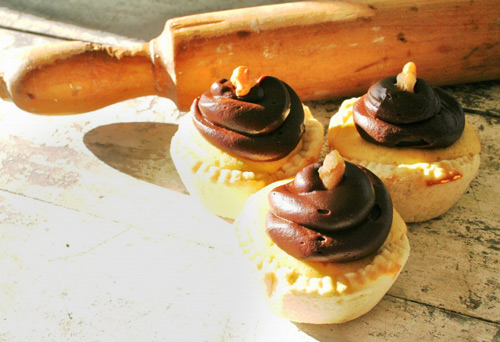
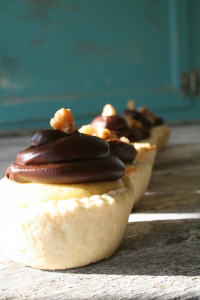
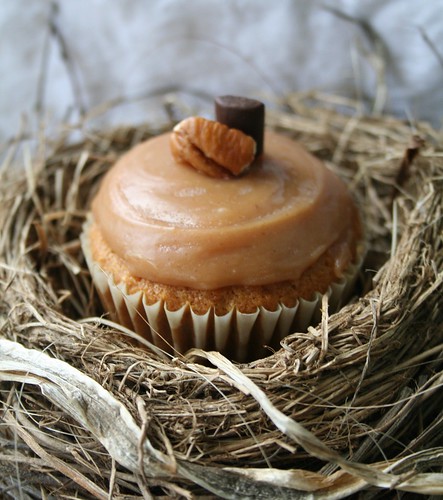
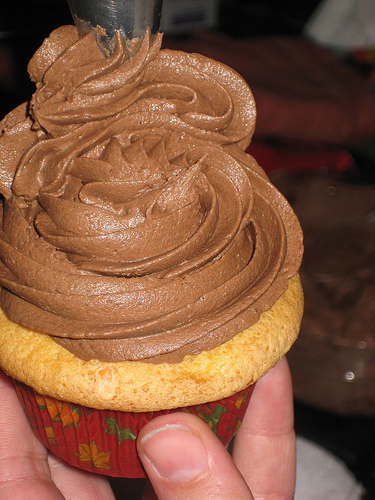
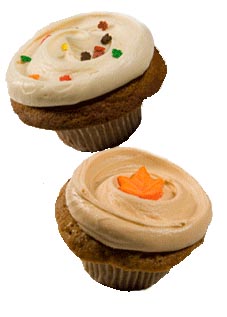
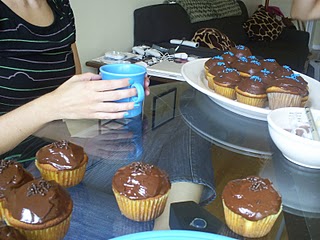
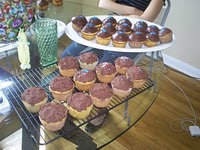
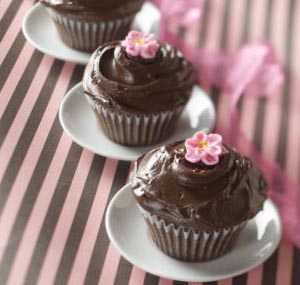
But even sweeter than the love that these jewel-toned nuggets of natural goodness inspire are these delicious cupcakes--a recipe shared with me by Del Monte from Dave Lieberman:
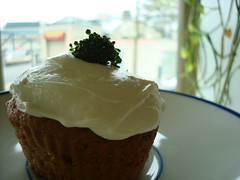
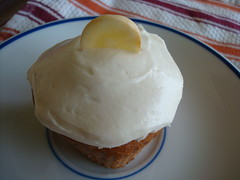
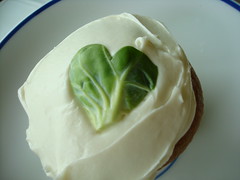
Beet Mash Chocolate Cupcakes with Beet Frosting
Recipe care of Dave Lieberman, campaign spokesperson for the Del Monte “Value without Sacrifice,” Chef and Author of The 10 Things You Need To Eat
- Makes 12-15 cupcakes -
Ingredients For the cupcakes
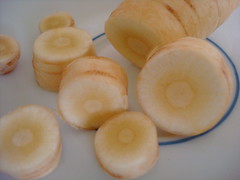
- One 14.5 oz. can sliced Beets, drained (Dave suggests Del Monte)
- 2 sticks unsalted butter, melted
- ½ cup vegetable oil
- 2 ½ cups granulated sugar
- 3 eggs
- ½ cup warm water
- 1 ½ cups all-purpose flour
- ¾ cup sweetened cocoa
- 2 teaspoons baking powder
- ½ teaspoon salt
Ingredients for the Frosting
- 2 sticks unsalted butter
- Approx. ½ a can of sliced beets, drained (once again, you guessed it, Del Monte is suggested)
- 1 pound confectioners sugar
Procedure
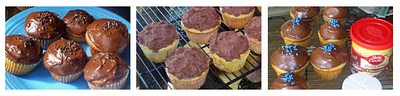
- For Cupcakes: Preheat the oven to 350ºF.
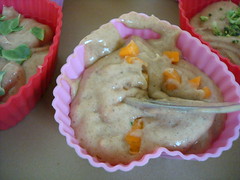
- In a small bowl, mash the drained can of beets finely with a potato masher and set aside.
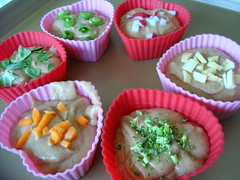
- In a large mixing bowl, whisk together the melted butter, granulated sugar, oil, eggs, and water. In a separate bowl, whisk together the dry ingredients until thoroughly combined. Gradually mix the dry ingredients into the wet. Fold in the mashed beets and mix well.
- Pour the batter into greased cupcake tins. Bake about 15-20 minutes, until set but moist. (Or until toothpick inserted in the center comes out clean)
- Make the Icing: Mash the ½ can of beets finely with a potato masher. Melt 1 stick of butter in a saucepan and add mashed beets. Simmer on very low heat for 5 minutes. Meanwhile, cream the second stick of butter with a mixer in a bowl. Mix in the melted butter and beet mixture until fully incorporated. Gradually beat in the confectioners sugar.
- Frost the cooled cakes liberally with beet frosting.