If you were a unicorn, what would you be eating at right this very minute? I can tell you what I'd be eating. THIS:

Reprinted with permission from Secret-Layer Cakes by Dini Kodippili, Page Street Publishing Co. Photo credit: Kodippili
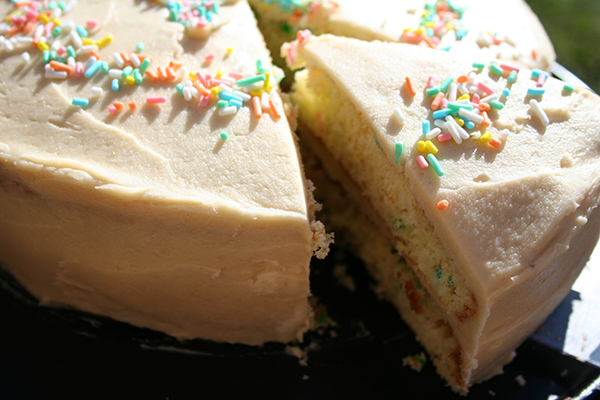
This splendid and magnificent thing is called "Funfetti Explosion Birthday Ice Cream Cake," and it is featured in the new book Secret-Layer Cakes by Dini Kodippili. Oh, you might know her as the celeb blogger behind The Flavor Bender. I'm kind of friends with her. It's no big (it's totally a big!).
I should also tell you that recently, Dini made some donuts inspired by MY recent book, Stuff Unicorns Love. Be sure to check out that post, too!
Her publisher was kind enough to grant permission for me to share this incredible masterpiece on CakeSpy. Please, promise me you'll make it every day? Here's the headnote from Dini and then the recipe. Enjoy!

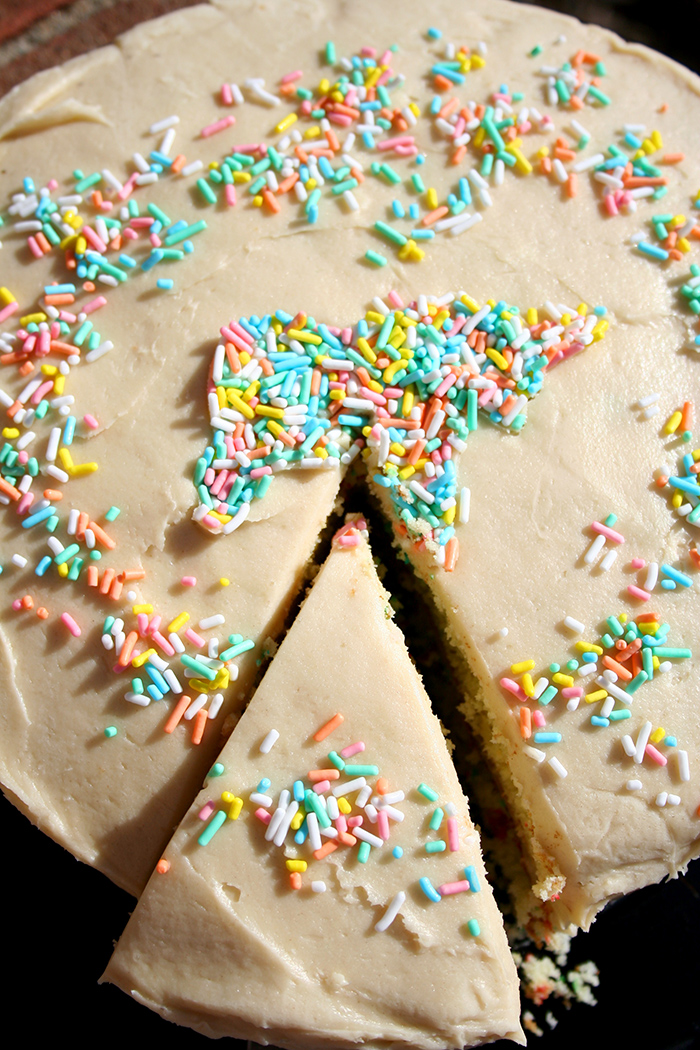
Funfetti Explosion Birthday Ice Cream Cake
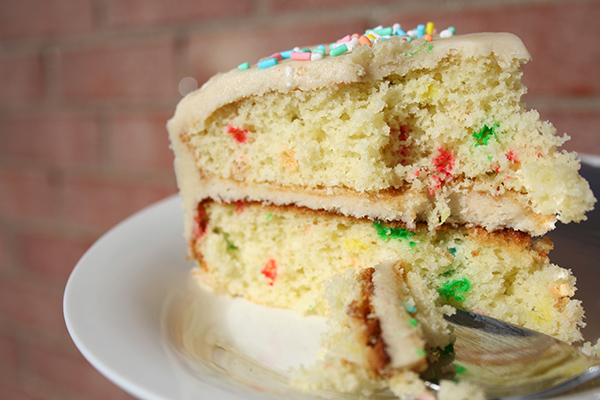
This cake looks like a funfetti cannon exploded all over it. Kids love rainbow colors and funfetti, so it'll be perfect for a summer birthday party! A fudgy blondie layer is packed with funfetti and topped with a cake batter-flavored funfetti ice cream layer. Top it with some sparklers to complete the look.
Makes one 8-inch (20-cm) cake
Funfetti Blondie Layer
- 170 g (6 oz) unsalted butter
- ½ tsp salt
- 250 g (8.8 oz) brown sugar
- 2 eggs
- 1 tsp vanilla extract
- 175 g (6.2 oz) all-purpose flour
- ½ cup (113 g) funfetti (rainbow) sprinkles
Funfetti Cake Batter Ice Cream Layer
- ¼ cup (59 ml) whipping cream
- ¼ cup (61 g) milk powder
- 1 tsp vanilla extract
- 1.9 L (64 oz [4 pints]) vanilla ice cream, softened
- 1½ cups (339 g) funfetti (rainbow) sprinkles
Stabilized Whipped Cream
- ½ cup (118 ml) water
- 3¾ tsp (19 g) powdered gelatin
- 5 cups (1 L) plus 1–2 tbsp (15-30 ml) chilled whipping cream, divided
- 1 cup (130 g) confectioners’ sugar
- Red, orange, yellow, green, blue and purple gel food coloring
To Decorate
- Funfetti sprinkles
- M&M’s® candies
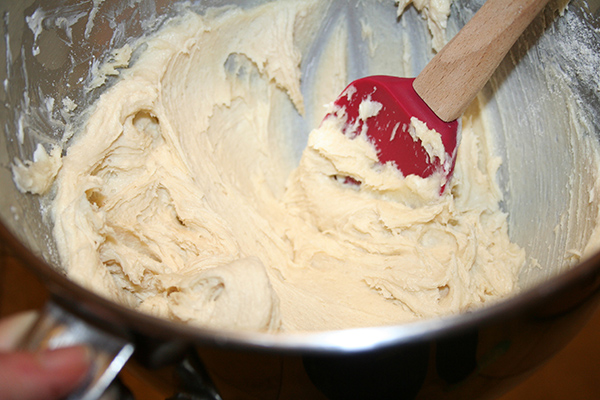
Funfetti Blondie Layer
Preheat the oven to 350°F (180°C). Butter an 8-inch (20-cm) wide, 3-inch (8-cm) tall springform pan. Line the bottom with parchment paper and dust the sides with flour. Melt the butter, salt and brown sugar in a heatproof bowl in 30-second intervals in the microwave. Stir to form a smooth butter-sugar mixture. Set aside to let cool slightly.
Once the butter-sugar mix has cooled, add the eggs, one at a time, whisking well after each addition. Stir in the vanilla and the flour. Fold in the funfetti sprinkles.
Pour the batter into the prepared pan and bake for 25 to 30 minutes (the blondie should still be soft and fudgy in the middle). Let the blondie cool in the pan.
When it has cooled, line the sides with parchment paper or acetate paper. Refrigerate the blondie layer until the ice cream is ready.
Funfetti Cake Batter Ice Cream Layer
Microwave the cream until it’s warm, but not hot. Add the milk powder and dissolve it completely. Add the vanilla and stir to combine. Let cool.
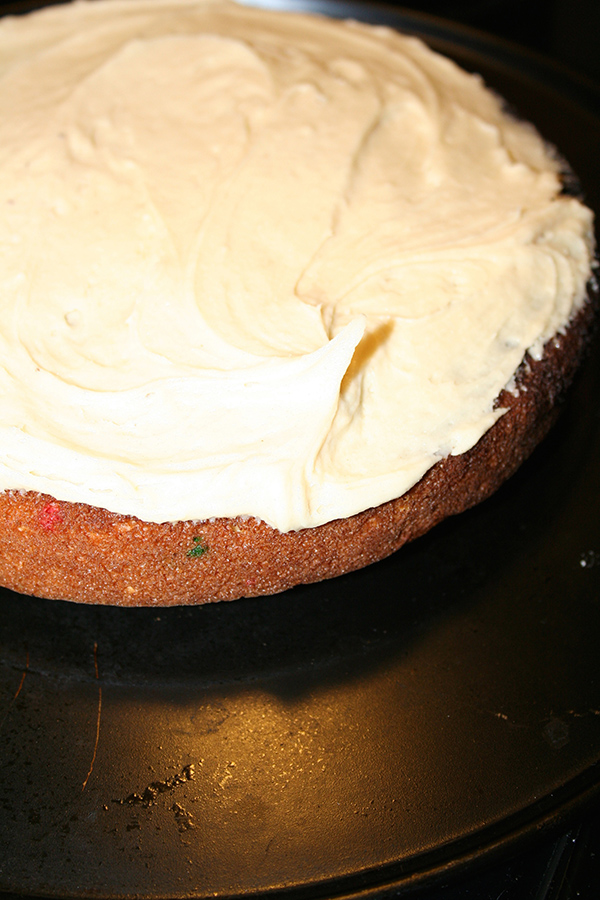
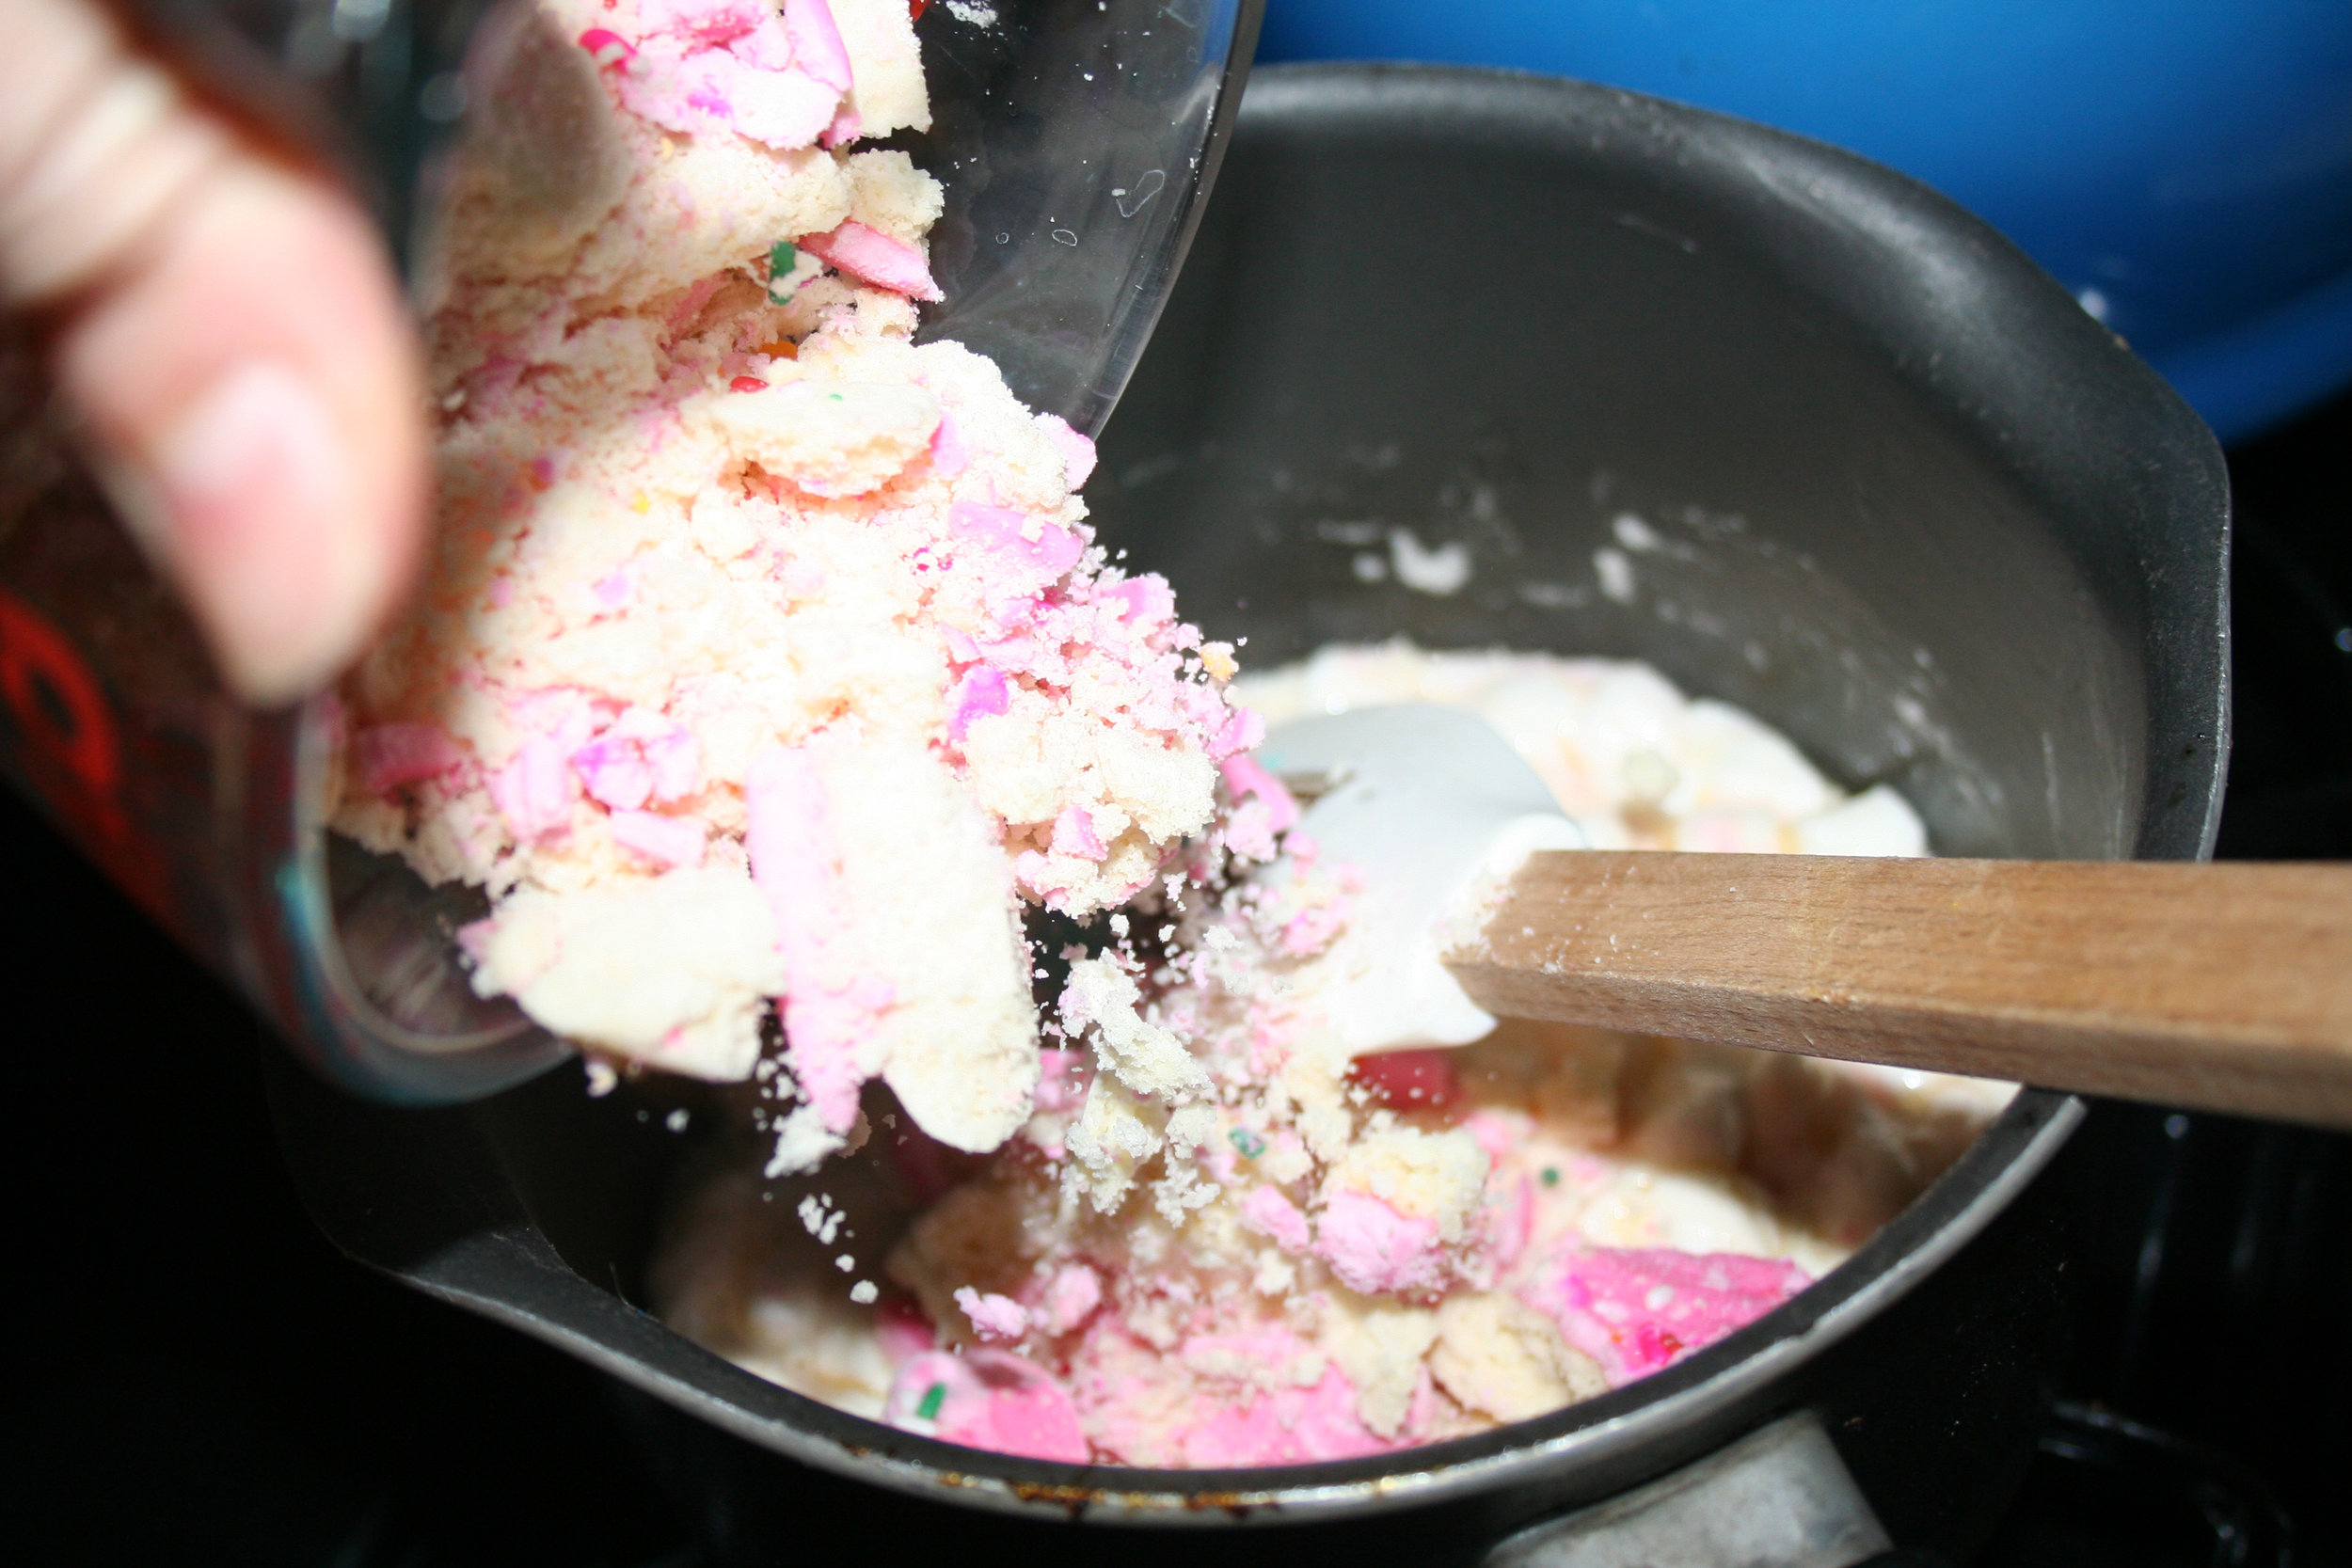
Place the softened vanilla ice cream in a bowl, add the cooled milk powder mixture and stir to combine. Fold in the funfetti sprinkles. Spread the ice cream over the funfetti blondie.
Place the ice cream in the freezer until it freezes and hardens completely. This makes it easier to frost the cake quickly.
Stabilized Whipped Cream
Place the water in a small bowl and evenly sprinkle the gelatin over it. Set aside for 10 to 15 minutes to let the gelatin bloom. Microwave the bloomed gelatin in 10-second intervals, stirring in between, until the gelatin is completely dissolved (making sure that the gelatin does not boil).
Add 5 cups (1.2 L) of the chilled whipping cream and confectioners’ sugar to a cold bowl. Whisk with the whisk attachment of your hand mixer on medium speed. Add the remaining 1 to 2 tablespoons (15 to 30 ml) of chilled cream to the hot, dissolved gelatin and stir to temper the gelatin. Add this gradually to the cream that is being whipped (being careful to pour it near the whisk, so that the gelatin gets mixed in with the cream immediately!). Whisk gently until you get soft peaks that still hold their shape. Use immediately.
Work quickly to frost the frozen ice cream cake. Divide the whipped cream into 7 portions, then combine two to make one larger portion (so that you have 5 small portions and 1 double portion). Color the small portions with red, orange, yellow, green and blue gel food coloring. Color the double portion with purple.
Decorate
Remove the completely frozen funfetti ice cream cake from the freezer, and unmold from the springform pan.
Spread the whipped cream on the sides of the cake to create a rainbow pattern—either rainbow patches, or rainbow ombre stripes—starting with red at the bottom and purple at the top edge and on the top of the cake.
You can use the leftover whipped cream to pipe rainbow swirls on top of the cake as well.
Sprinkle some funfetti sprinkles and M&M's on top (in the center). Return the cake to the freezer until you’re ready to serve.