Treat your valentine to something divine.
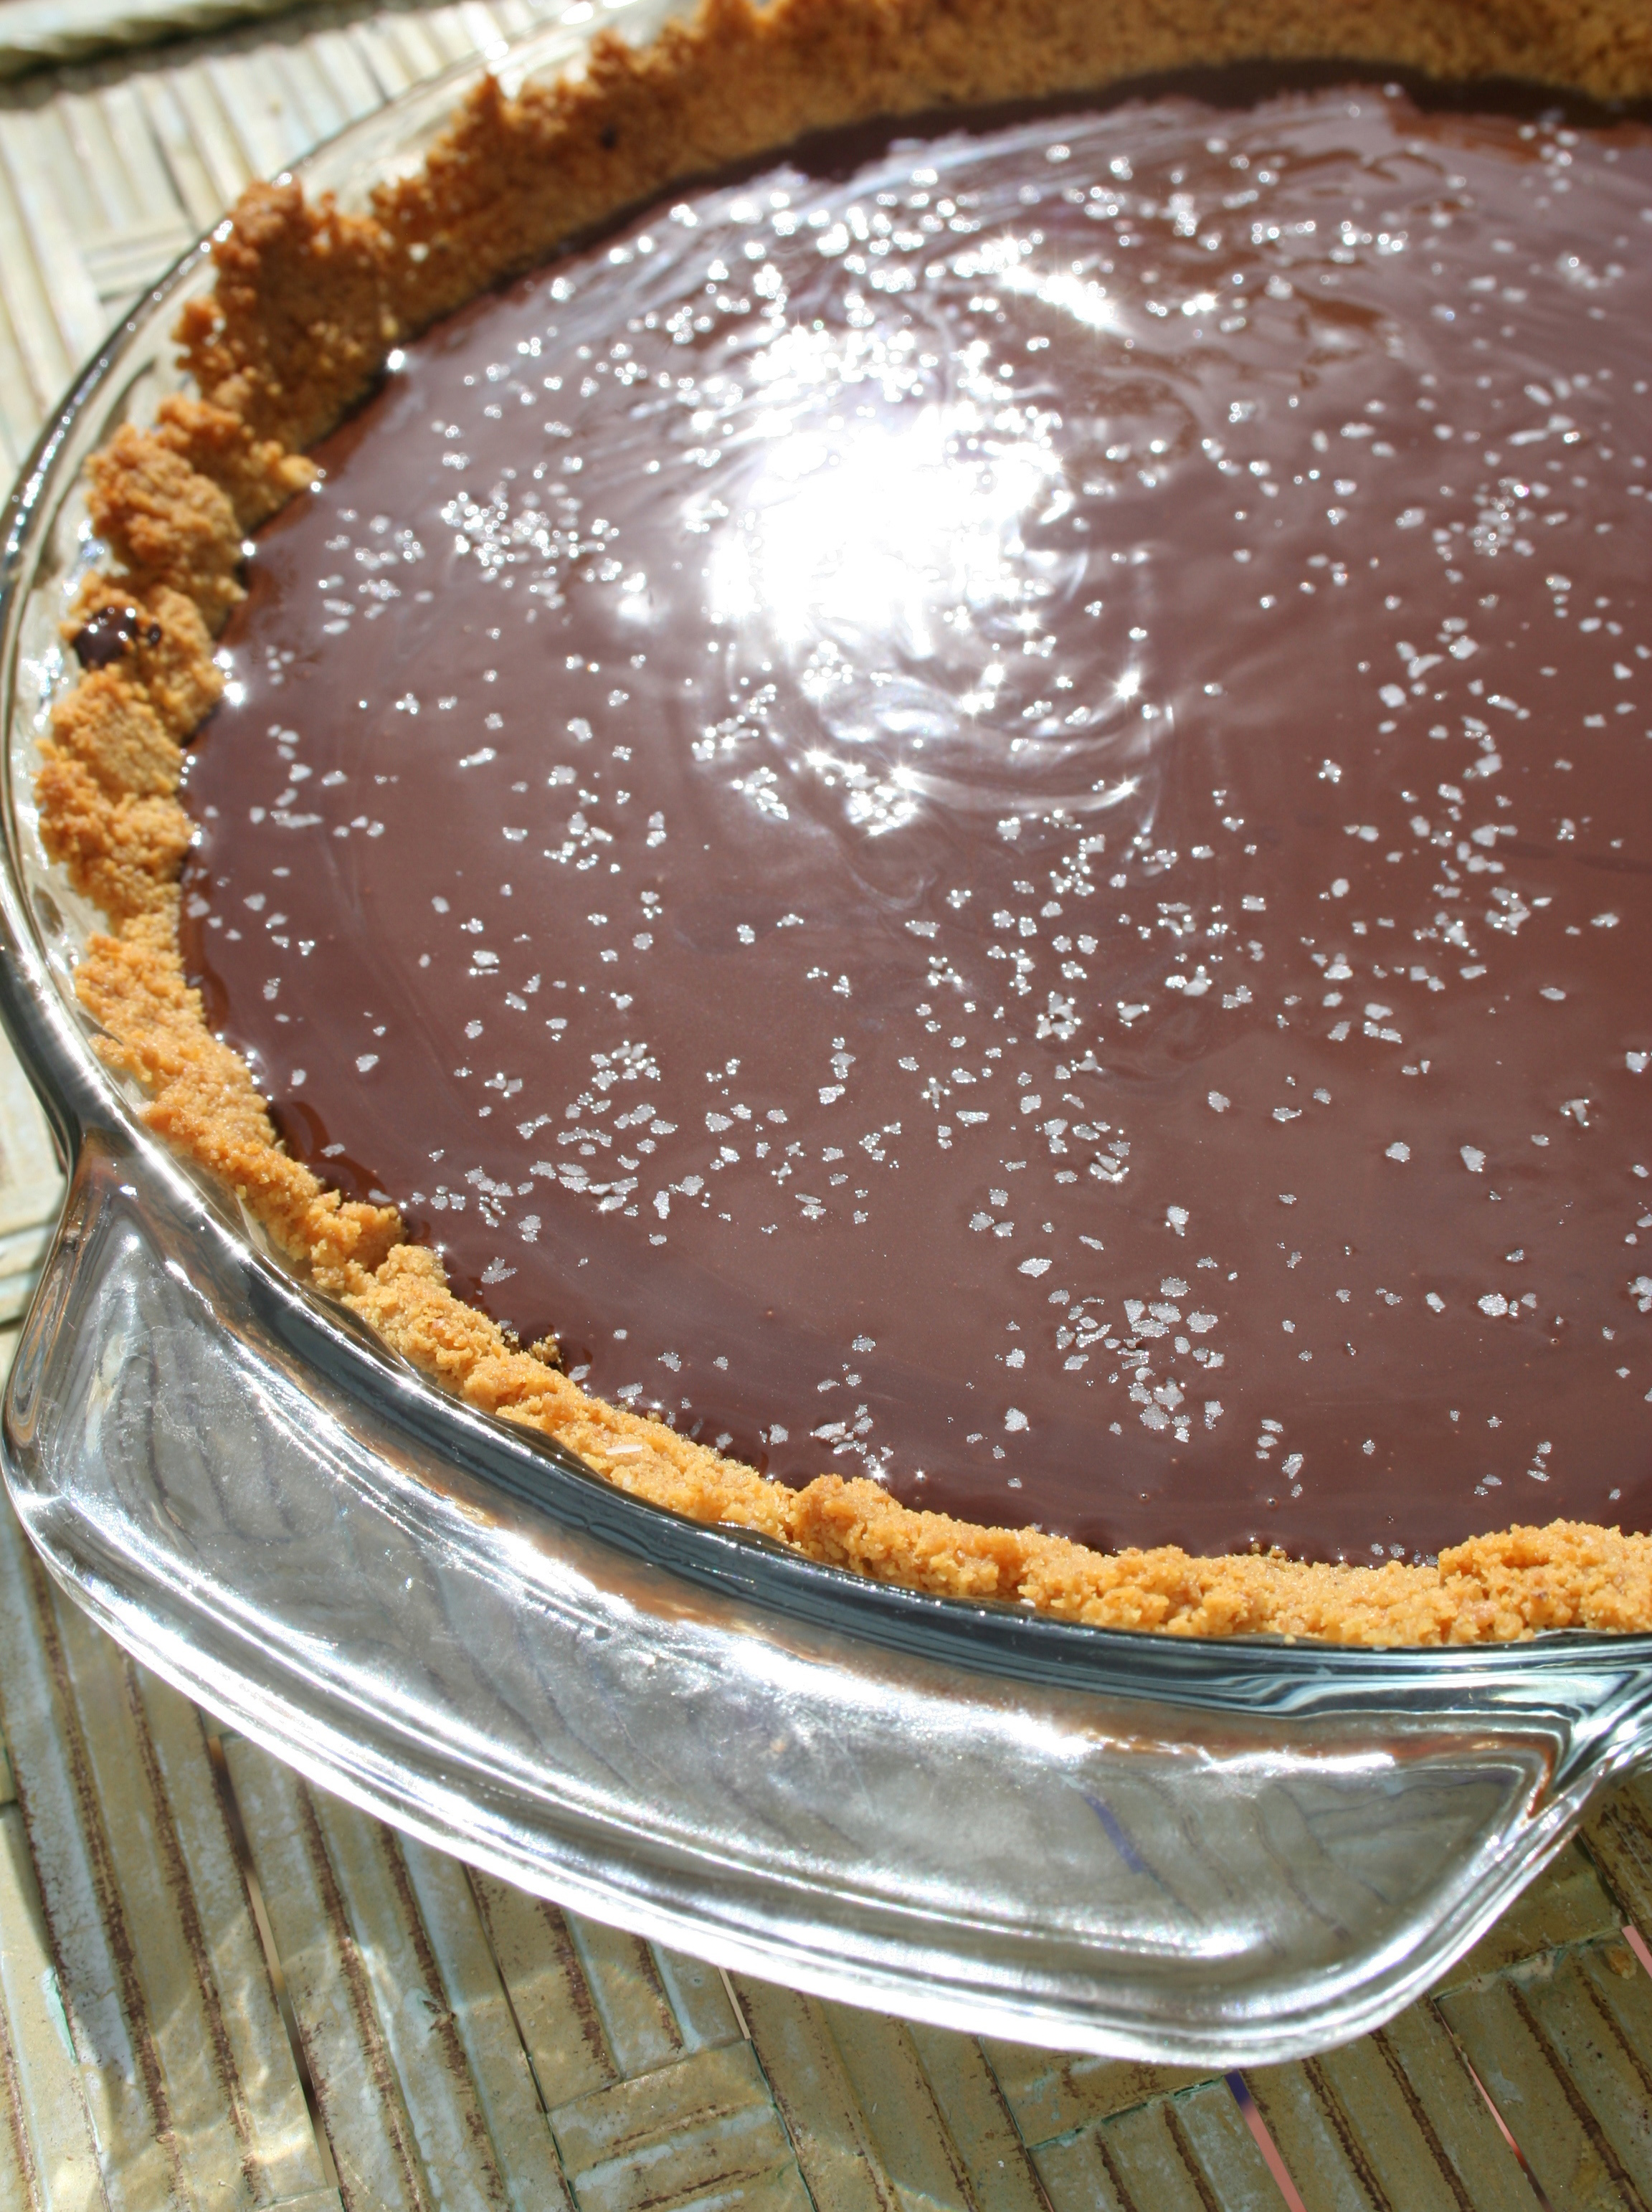
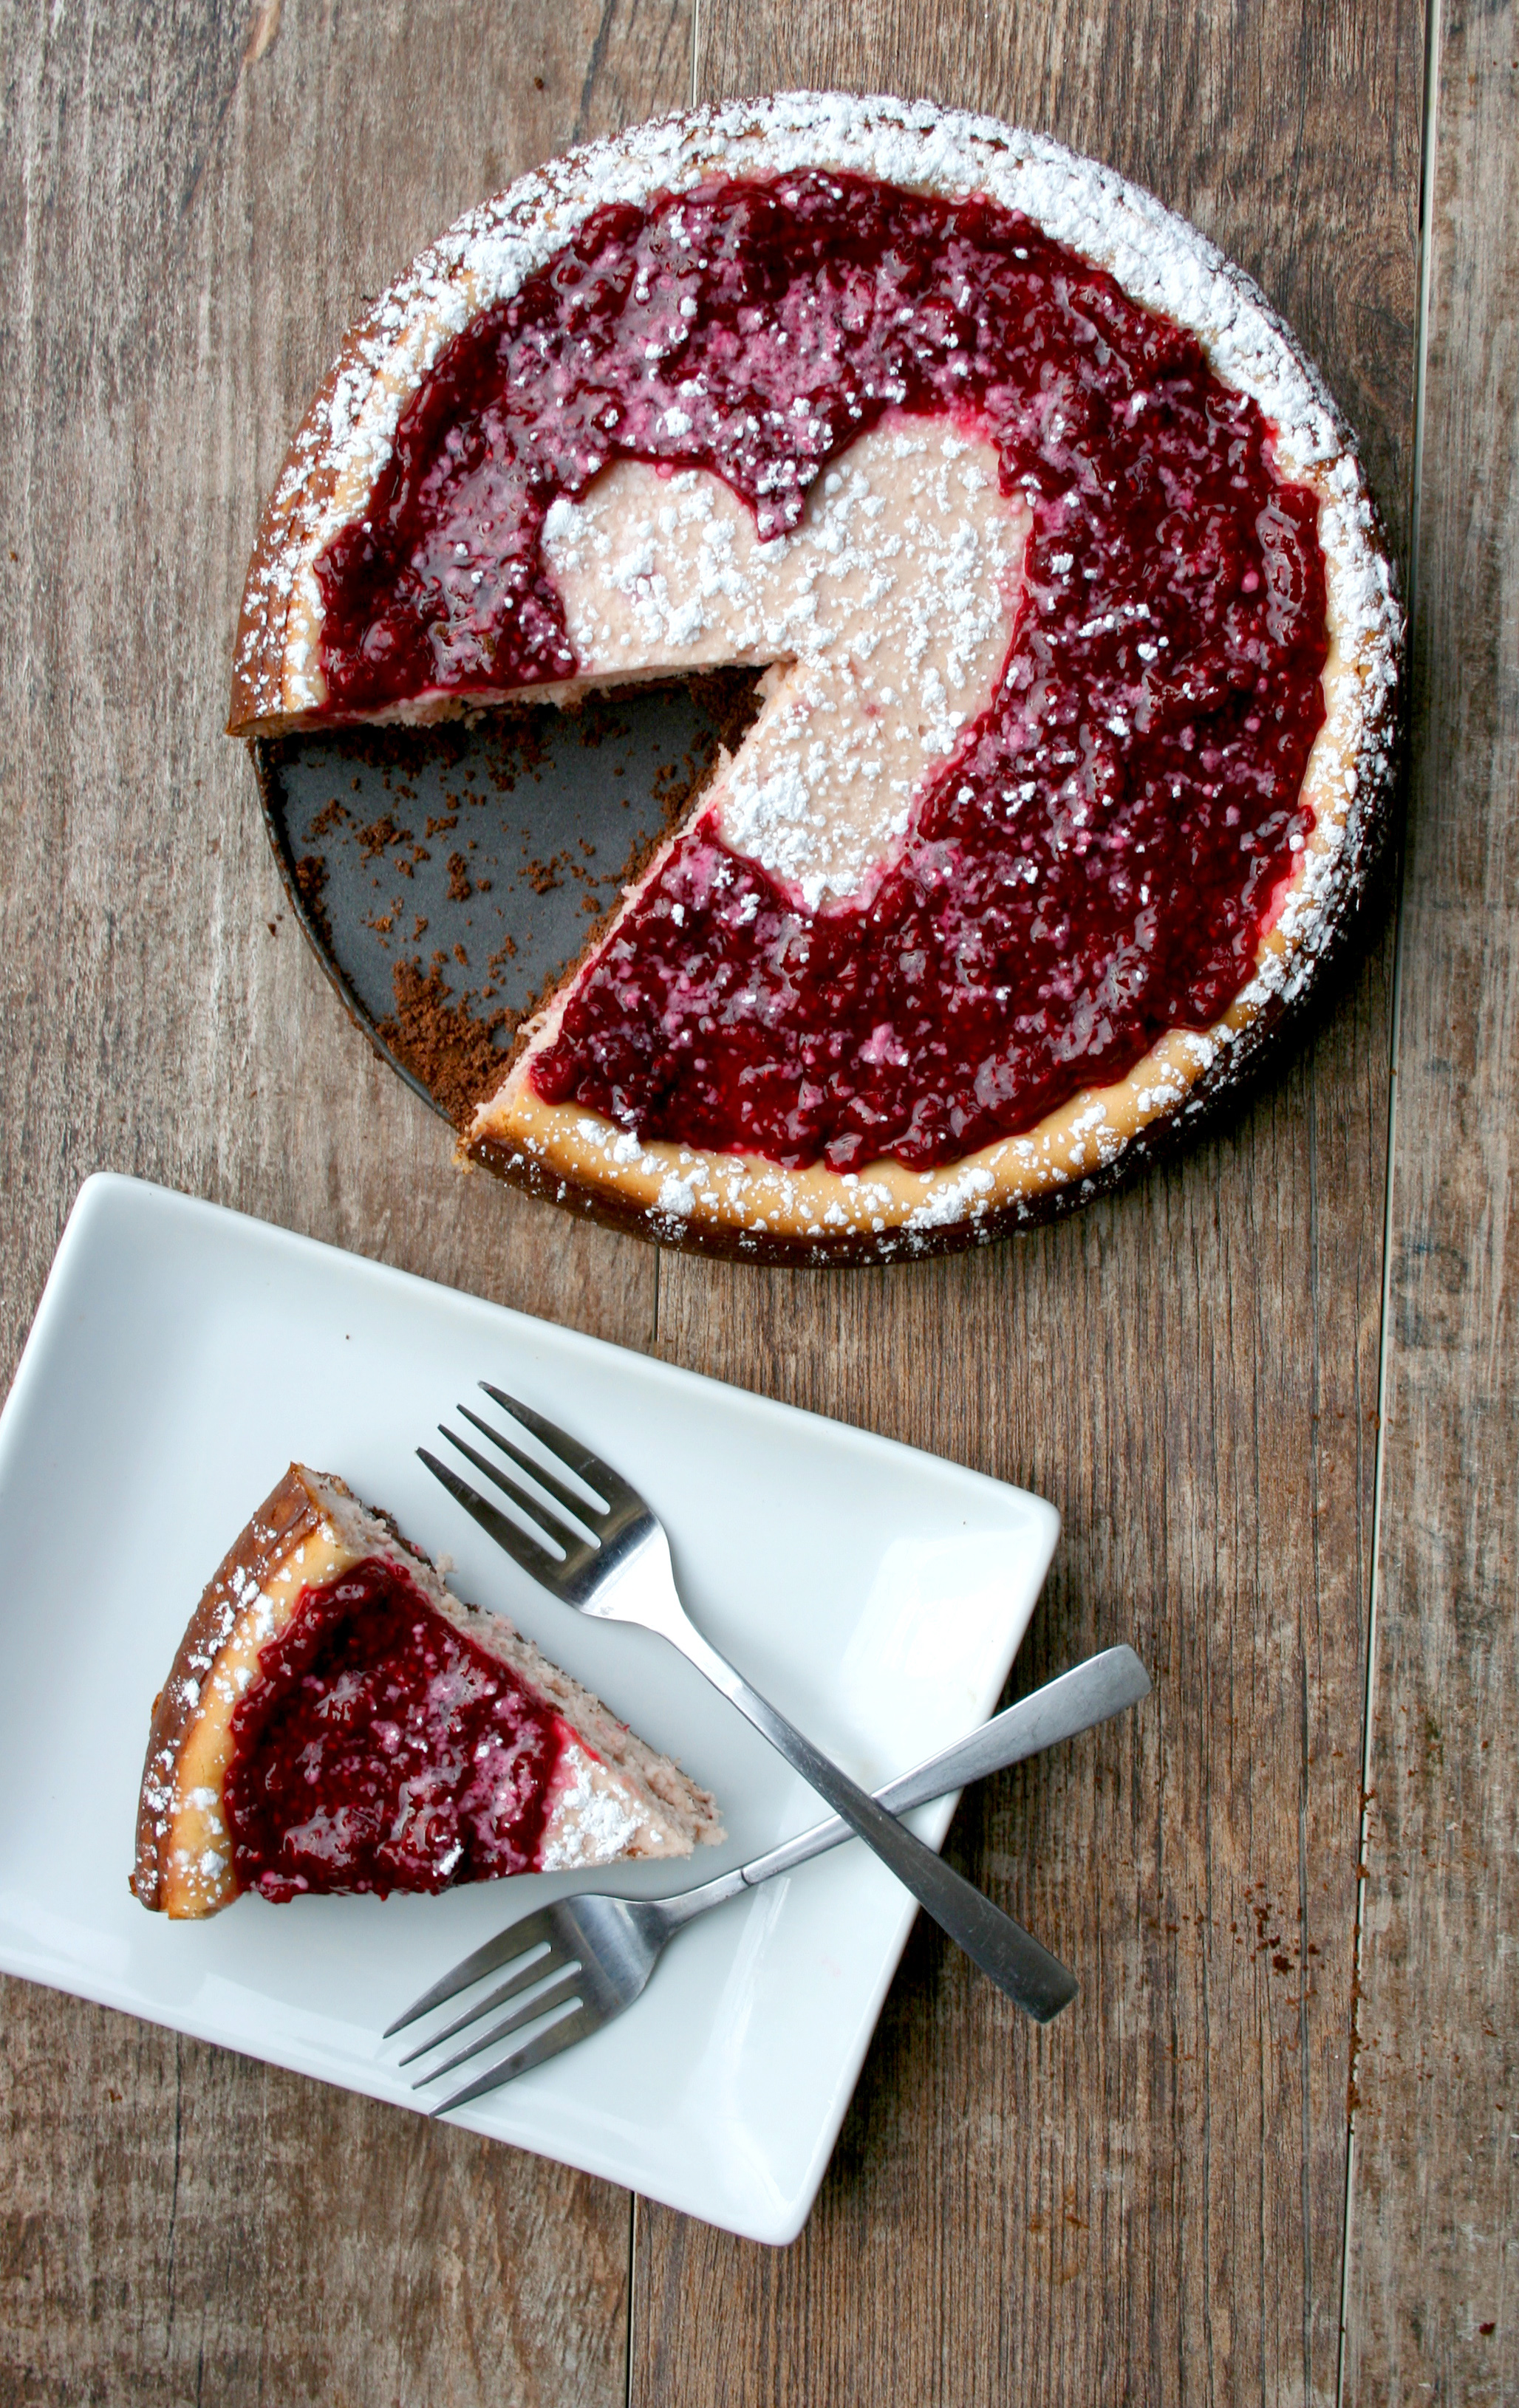
This cheesecake may look pretty in pink, but it's truly a work of pure decadence. Made with homemade homemade raspberry sauce mixed right in the batter, it is baked to perfection atop a crave-worthy chocolate crust, then topped with more sauce and dusted prettily with confectioners’ sugar.

Amazing seems like too small a word for this beautiful combination of whipped cream cheese, tart berries, and rich dark chocolate. Love is in the air!
Raspberry Cheesecake in a Chocolate Crust
- Yield: one 9-inch cheesecake (8 servings) - printable version here
- Prep time: 30 minutes
- Total time: 75 minutes, plus cooling time
For the crust
- 1 cup all purpose flour
- ¼ cup granulated sugar
- ½ teaspoon salt
- ¼ cup melted butter
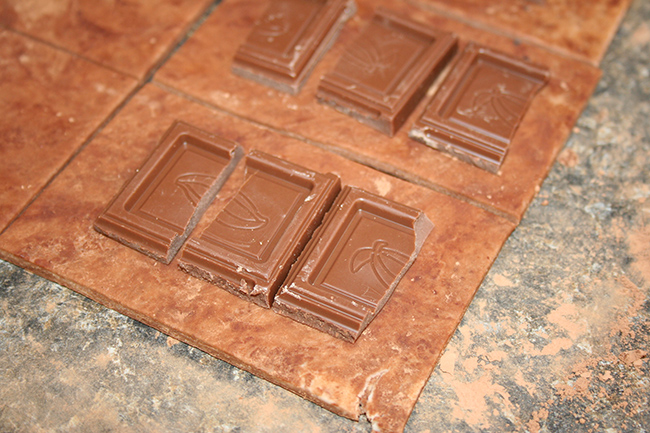
- 1 bar (3.5 ounces) 85% Cacao Extra Dark chocolate, melted and slightly cooled
For the raspberry topping and filling
- 1 package (10 ounces) frozen raspberries, thawed and crushed
- ½ cup granulated sugar
- 1 tablespoon cornstarch
For the cheesecake filling
- 3 packages (8 ounces each) regular (full-fat) cream cheese, softened
- 1 cup granulated sugar
- 2 tablespoons all purpose flour
- ½ teaspoon salt
- ¼ cup melted butter
- 2 large eggs, at room temperature
- 1 teaspoon vanilla extract
- ¼ cup completed raspberry topping/filling
- red food coloring (optional)
- confectioners’ sugar, for dusting the finished cake
Procedure
- Prepare to bake. Position a rack in the middle position of your oven, and preheat the oven to 400 degrees F. Generously grease the bottom and about 1 inch up the sides of a 9-inch springform pan. If you have any doubt at all about how securely your springform pan seals, line the bottom of the pan with foil to prevent seepage.
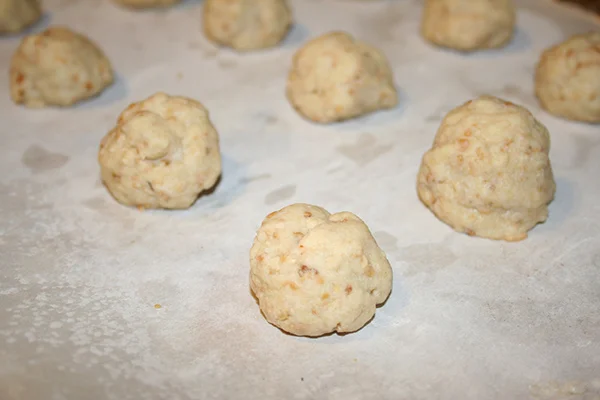
- Make the crust. In a large bowl, combine all of the crust ingredients, and stir until combined. Press the mixture evenly into the bottom of the prepared springform pan, patting it firmly to pack it in.
- Bake the crust for 5-7 minutes, or until the top of the crust has a matte appearance (looking out for golden edges is difficult given the dark hue that the chocolate imparts). Remove from the oven, and set aside to cool. Do not turn off the oven, but reduce the heat to 375 degrees F.
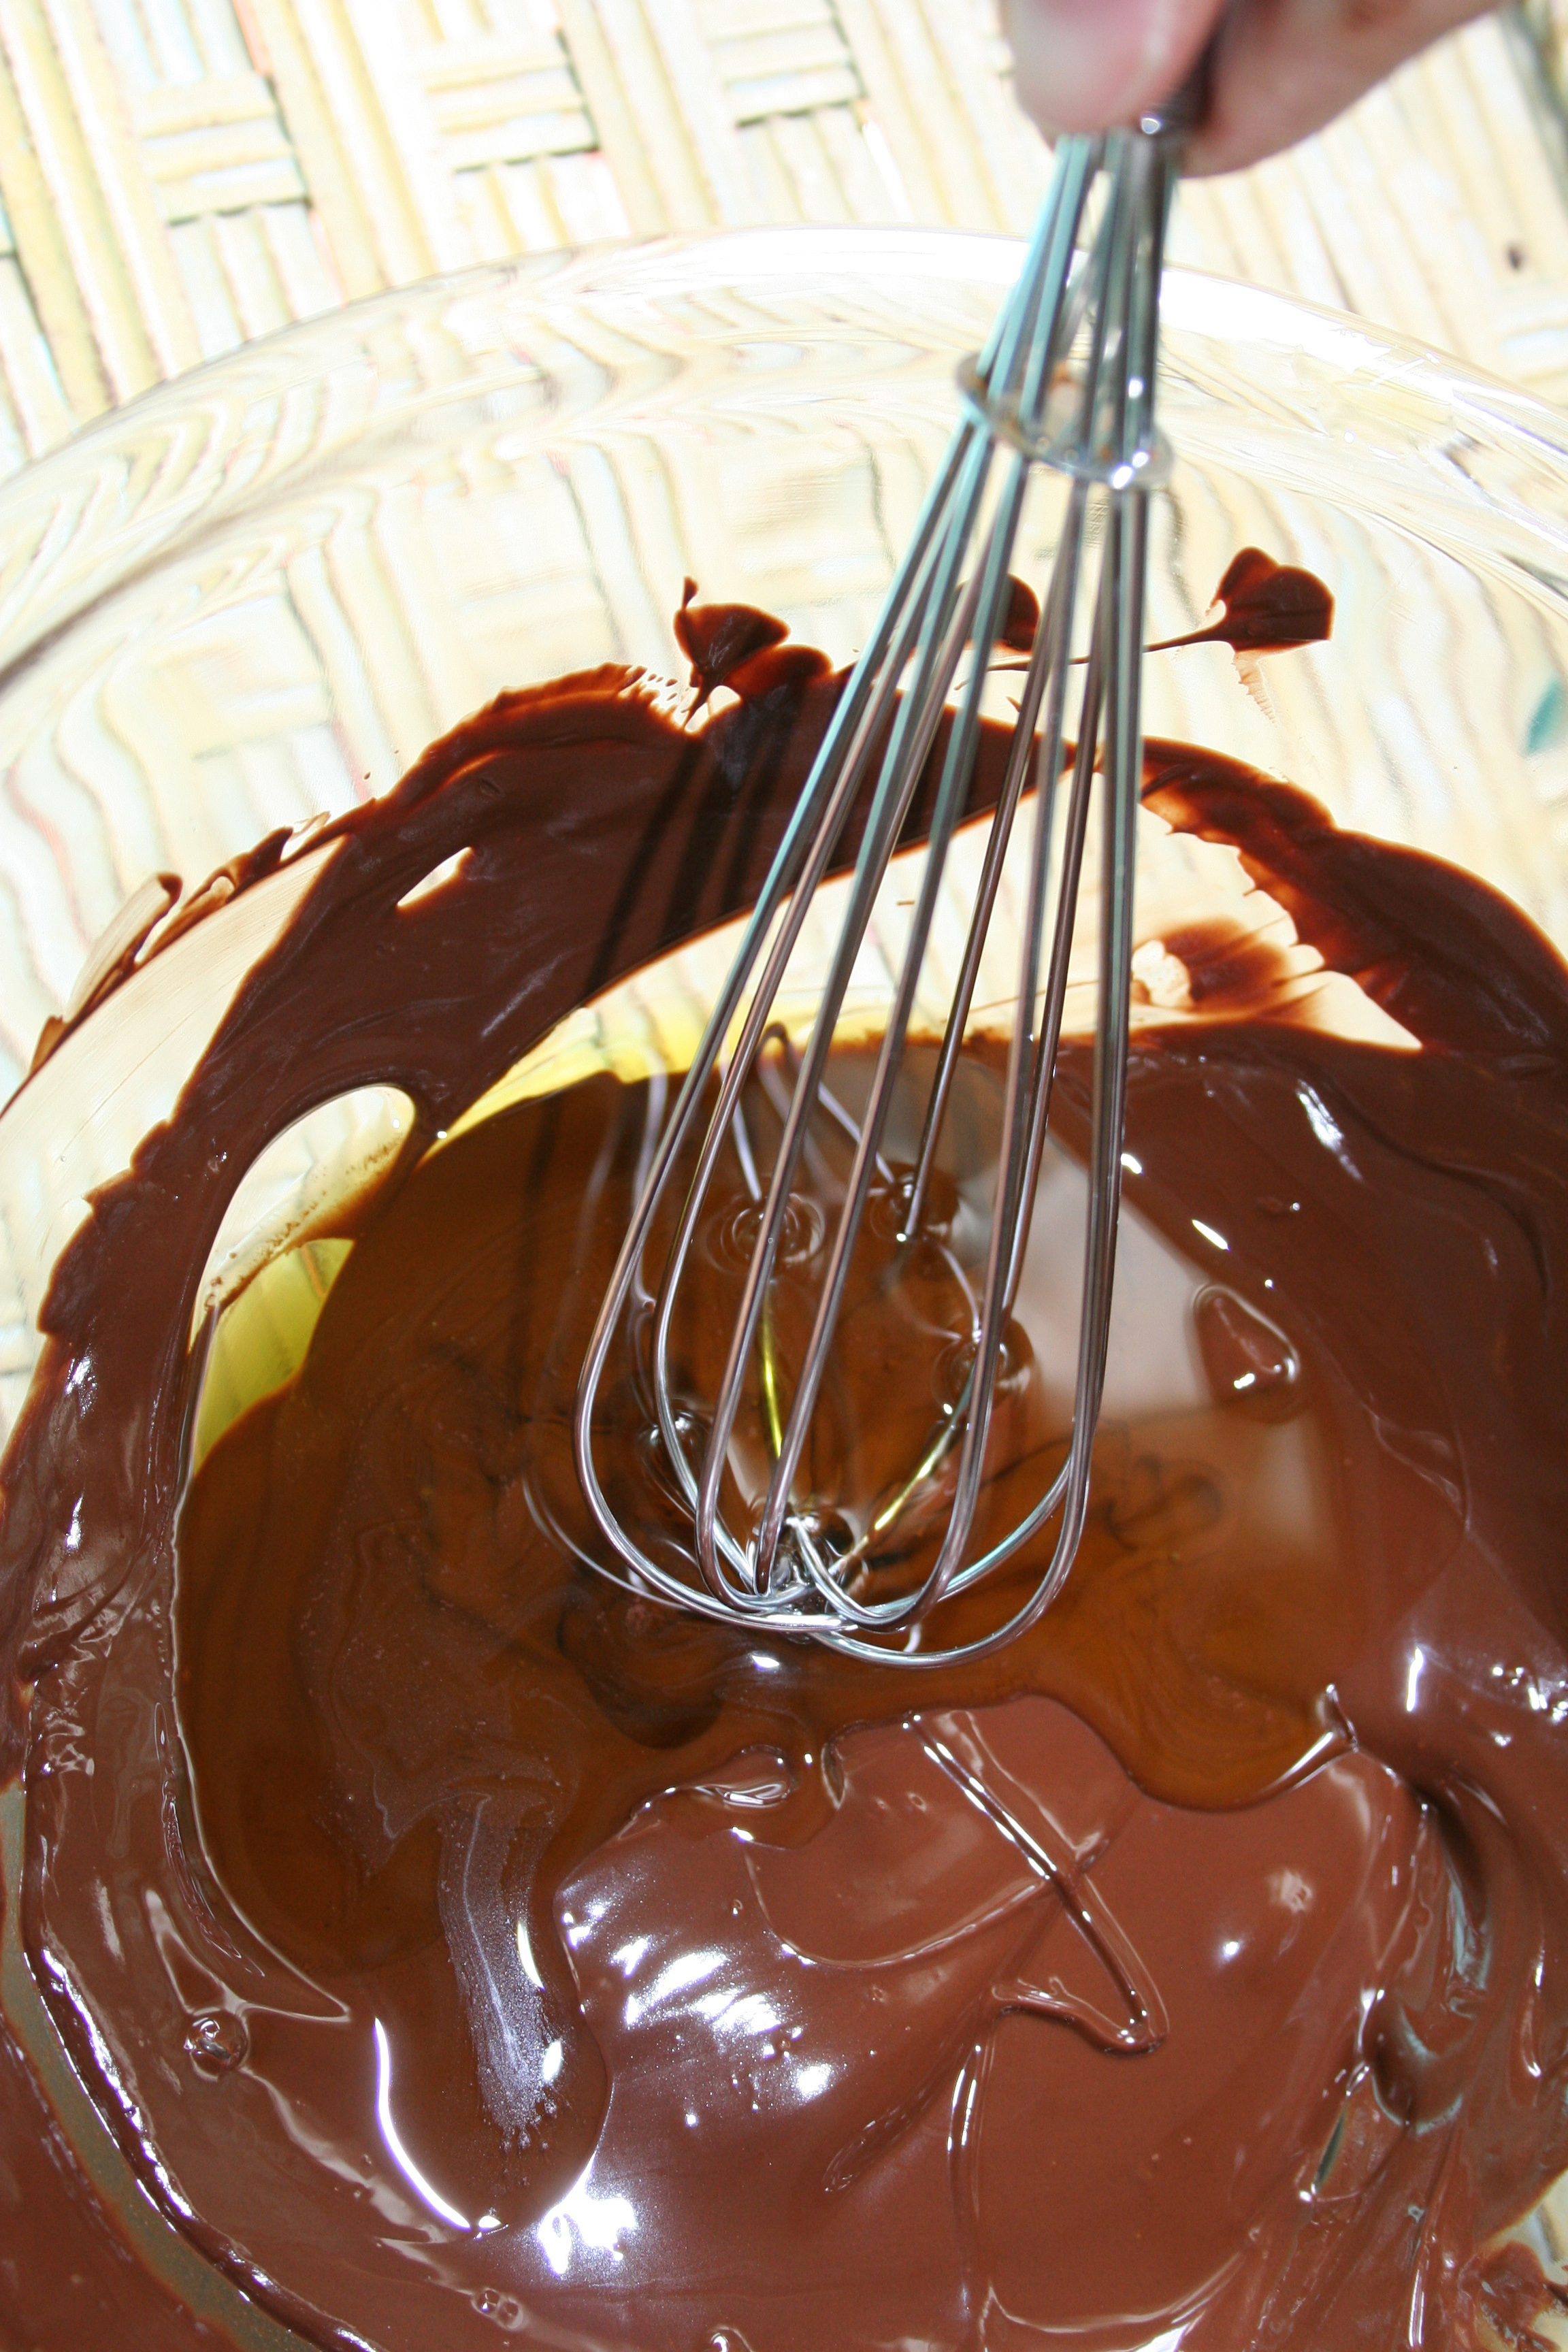
- Prepare the raspberry topping and filling. Combine all of the ingredients in a large, heavy bottomed saucepan. Apply medium heat, and stir the mixture frequently until it begins to bubble and thicken. Remove from heat and set to the side. Once cooled, reserve ¼ cup of the mixture to add to your cheesecake, but place the rest of the mixture in the refrigerator until you are ready to serve the cake.
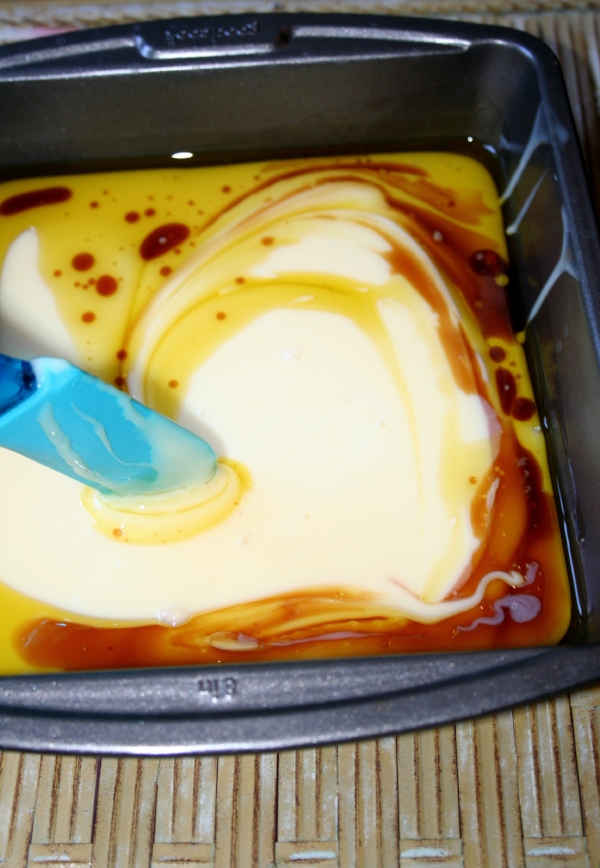
- In the bowl of a stand mixer fitted with the paddle attachment, beat the cream cheese until really smooth, about 5 minutes on medium-high speed.
- Add the sugar, flour, and salt, and mix on medium speed until smooth, scraping the sides of the bowl as needed with a rubber spatula.
- Add the butter and the two eggs, and mix on low speed until completely incorporated, scraping the sides of the bowl as needed with a rubber spatula.
- Finally, stir in the vanilla extract and ¼ cup of the raspberry mixture (reserving the rest to top the cake). Stir only until evenly distributed. The raspberry mixture will impart a pretty rose color on the cake. If desired, you can augment the color with a few drops of red food coloring, though this is not necessary.
- Pause for a moment, and generously grease the sides of the springform pan (with the baked crust inside). Pour the cheesecake mixture in the springform pan, spreading it to make sure it evenly fills out the pan.
- Bake for 30-40 minutes, or until the sides appear golden and the middle has just the tiniest jiggle to it. Remove from the oven and transfer the entire pan to a wire rack to cool for about 10 minutes. Run a sharp knife around the edges to loosen the sides of the cake. Let the cake cool to room temperature, and then transfer to the refrigerator to cool for a minimum of 3 hours before serving. Do not place the cake in the refrigerator before the cheesecake cools to room temperature or it can form condensation on the top.
- When ready to serve, use the remaining raspberry mixture to top the cheesecake, and dust with confectioners’ sugar if desired.
Recipe notes:
- Make-ahead tip: the crust and the raspberry sauce can be prepared a day in advance. Store, covered, in the refrigerator until ready to use.
- Using low-fat cream cheese is not suggested in this recipe.
- Store leftovers, well wrapped, in the refrigerator for up to 4 days.