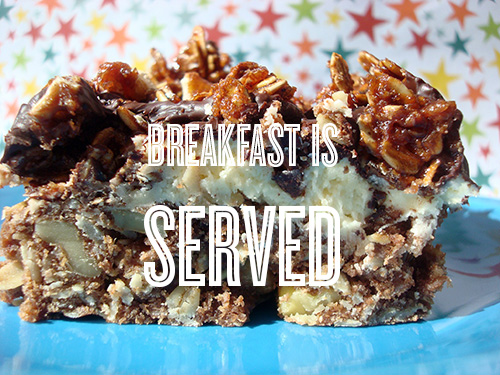
 Let's play a game. I'm going to list a few ingredients, and you guess what meal I'm making.
Here goes:
- Oatmeal
- Granola
- Maple syrup
- Butter
- Coconut
Do you think I'm talking about breakfast? Good, because that means I have sufficiently breakfast-ified these Nanaimo bars, and therefore, they are officially OK for A.M. eating. Why would I want to do such a thing?
I have a lot of trouble understanding why doughnuts, scones, and danish are OK for breakfast, yet cookies and cake are not.
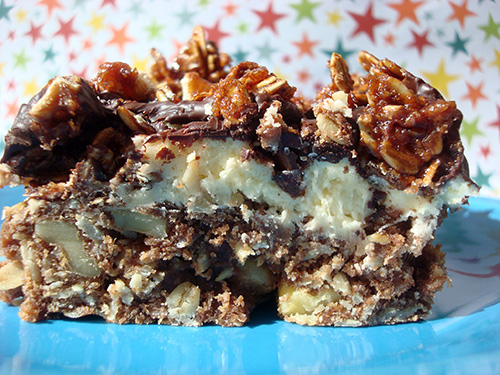
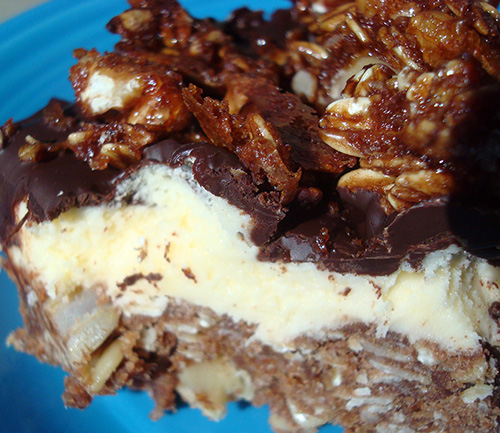
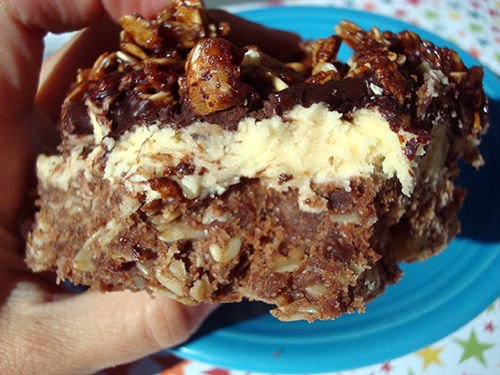
 My logic is this: if you are what you eat, why not start out the day by eating (and being) amazing? These breakfast-friendly Nanaimo bars are the perfect way to start your day right, and an ideal indulgent holiday breakfast treat. They've got enough of the classic makings to be recognizable as the famed Canadian treat, but enough breakfast stylings, such as oats in the crust (which is baked, not simply mixed and no-baked; it is loosely based on the crust used in King Arthur Flour's "President's Day Cherry Squares" recipe) and a tasty crunchy granola on top, that they become an exciting and new thing.
Nanaimo bars for breakfast? Believe it.
 I'm especially excited to share these as a recipe featuring King Arthur Flour (whole wheat no less--another point for these being health food!). Ever since my awesome Bake For Good experience with the esteemed flour-maker, I've maintained a good relationship with them, and when they recently asked if I'd come up with a breakfast recipe using their flour, I was more than happy to do so!
Oh, and I should tell you, these bars freeze beautifully. You can freeze up to 2 months; let them come to room temperature before serving.
Breakfast Nanaimo bars
Makes up to 36 tiny bars, or 9 massive breakfast bars
For the crust
- 1 1/4 cup rolled oats
- 1 cup King Arthur Whole Wheat Flour
- 1 cup coconut
- 1/2 cup coarsely chopped nuts
- 1 teaspoon salt
- 1 1/2 sticks butter
- 2 tablespoons unsweetened cocoa
- 1 cup packed dark brown sugar
For the middle layer
- 1 stick unsalted butter
- 1 teaspoon vanilla extract
- 2 tablespoons Bird's Custard powder
- 2 cups confectioners' sugar, sifted
For the top layer
- 4 ounces chocolate, coarsely chopped
- 2 tablespoons unsalted butter
For the granola garnish
- 1 cup rolled oats
- 1/2 cup nuts
- 1/2 cup brown sugar, packed
- 1 tablespoon unsweetened cocoa
- 1/2 teaspoon salt
- 1/2 teaspoon vanilla
- 1/4 cup maple syrup
Procedure
- Start by making the crust. Grease a 9x9-inch square baking pan; add a strip of parchment with the ends poking up two sides of the pan so you have "handles" to make removal easy later. Preheat the oven to 350 degrees F. In a large bowl, mix together the oats, flour, coconut, nuts, and salt.
- In a saucepan, melt the butter with the cocoa and brown sugar. Once melted, stir into the dry mixture. Mix everything until combined, and press into your prepared pan.
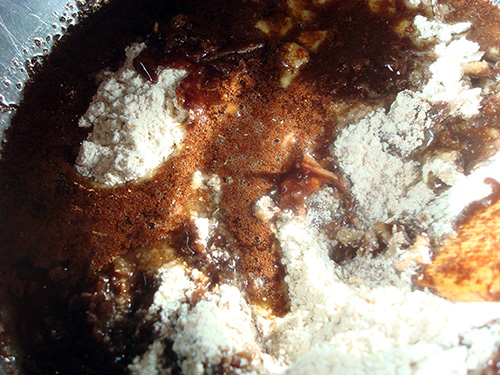
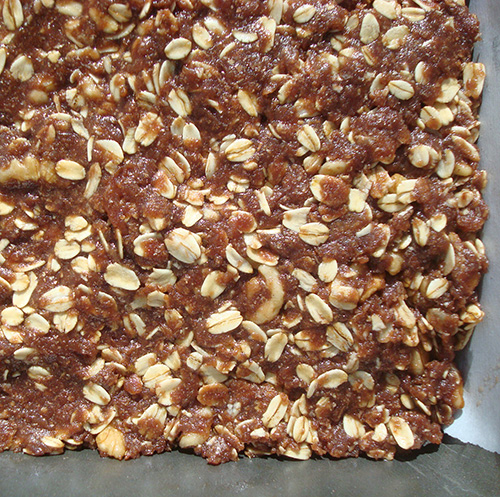
- Bake in the preheated oven for 13-15 minutes, or until it has a dull finish on top. Remove from oven and let cool completely. You can hasten the process by putting the slightly cooled pan in the refrigerator for 30 minutes.
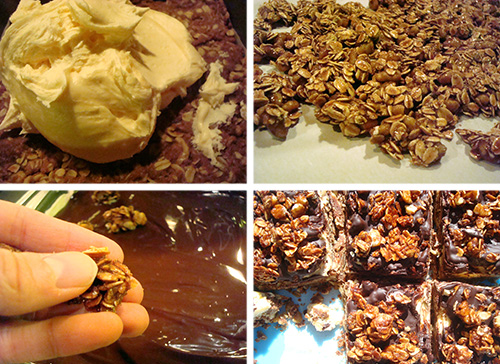
- Make the filling. In the bowl of a stand mixer fitted with the paddle attachment, mix all of the filling ingredients on low speed until fluffy--3 to 5 minutes. While not in the ingredient list for this recipe, if you are having trouble incorporating the sugar and butter, add a small amount of milk or cream until it reaches your desired spreading consistency. Gently spread on top of the bottom layer. Take pains to smooth this layer as much as possible (I like to use the end of a metal spatula to smooth it) as the topping will only lay as smooth as this layer.
- Place the pan in the refrigerator and let cool for 30 minutes or up to 2 hours. This will make the filling firm enough for the next layer to be put on top without ripping or damaging it in any way.
- Meantime, make the granola garnish. Preheat the oven to 325 degrees F. Mix all of the ingredients together in a bowl, and scatter on a parchment-lined baking sheet. Bake for 15 minutes; remove from the oven and stir right on the sheet. Return to the oven and bake for 15 more minutes, or until toasty and firm. Let cool completely, and break up by hand into small pieces.
- Ready to put it all together? OK. Now, we'll make the topping. In a double boiler, melt the chocolate and butter until, well, melted. Spread on top of the middle layer, working quickly because it will set rapidly as it is applied to the cool surface, and too much working of the hot mixture can tear up the delicate middle layer.
- Scatter the broken-up granola on top while the chocolate layer is still slightly wet on top to ensure it adheres. Score the bars (this is imporant!) before the chocolate has fully set as it will make life so much easier when you want to serve these sweet treats. Place in the fridge and let them set for 20 minutes.
- Although typically I would suggest continued storage of these in the fridge, I find that they're actually quite nicer when left at room temperature. It's up to you, but I found that the topping got kind of hard when left in the fridge. If you do prefer to store in the fridge, let them come to room temperature before serving. Likewise, these bars can be made ahead and frozen for up to 2 months. Once again, let 'em come to room temp before serving.
